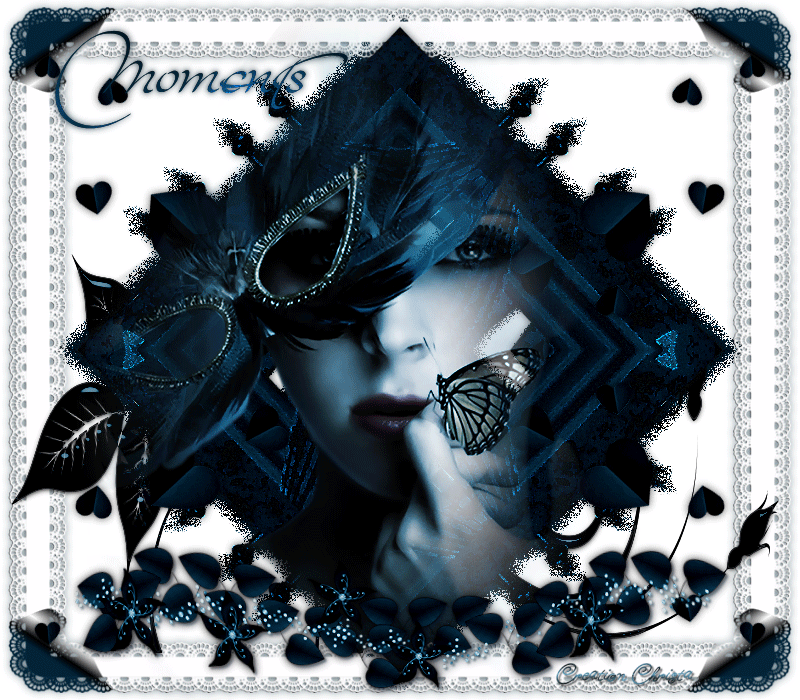
Scrap Moments
© by Christa 05.05.2011
English 
This tutorial was written and designed by me © Christa
The © copyright for this tutorial belongs to me alone
The © for the translation belongs to me and Petra

This tutorial may neither be copied, nor offered for download at any other site
The © copyright for the material belongs to each individual designer
Should I have, unknowingly, violated any copyright, I ask that you notify me via
cg@silvercurlyart.de
My thanks for the lovely material, for without it these pictures would not be possible
thank you Chaosgaby for the Exclusiv Tubes
© All copyrights belongs to the original artists
This tutorial was written with PSP 9
Print Icon - Print Page


thank you all my tester from my Tutorials
************************************************************
My Material 
Plugins

Xero Improver
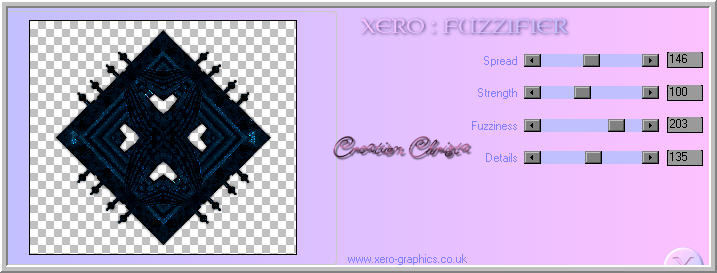
Xero Fuzzifier
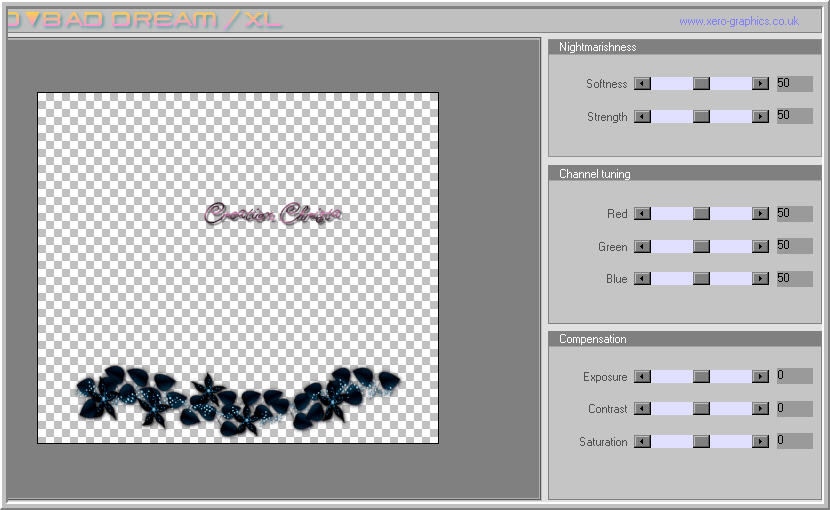
Xero Bad Dream XL
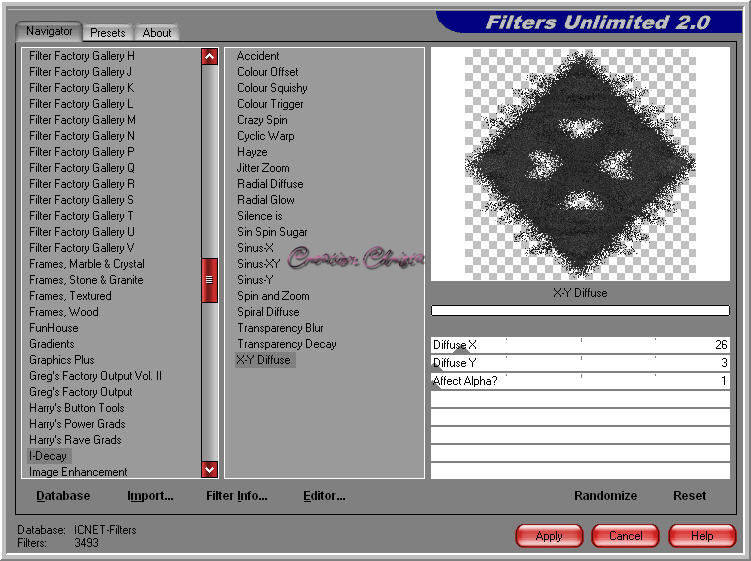
Unlimited 2.0 - I-Decay - X-Y Diffuse
**********************************************************
|
You may take this little figure
along for your orientation |
|
**********************************************************

Step :1
Open all your material at PSP - search a nice Tube
Select out of your Tube a nice FG Color #274553
BG Color White
Minimze all material - open " tut_1139_CG-selection.psd
Fill Canvas with BG Color white
Copy out of my material element_1CG.psd
paste as new Layer
Layer colorize - Values H + S of FG Color

Adjust Plugin Xero Improver 10/10/10
Layer duplicate - rename into "animaton"
Step :2
Originallayer - of the Element is activ
Image - Resize to 105 % all Layers not chequed
Selection - Load Selection from Alpha - "Selection 1

Plugin Unlimited 2.0 - I-Decay - X-Y Diffuse
Selection - None
Layer "animation" is activ - Drop Shadow
0/0/65/12,00 Black
Adjust to both Layer Plugin Xero Bad Dream XL - Default
I use this Filter to all my Elements - after colorize
Step : 3
Copy " element_herz_cg.psd - paste as new Layer
Colorize + Xero Bad Dream
Repeat the Drop Shadow
Copy your Facetube - paste as new Layer
I resize mine to 85 %
Erasertool - Erase now the part of the Tube
what is visible outside of the Element

I duplicate the Tube - Originaltube - colorize
Duplicated Tube - Blend Mode - Soft Light
Adjust to both Layer - Plugin Xero Improver
Step :4
Copy "element2.psd - paste as new Layer - arrange send Layer to the top
Arrange to the bottom
Drop Shadow 2/2/65/3,00 FG Color
Colorize + Xero Bad Dream XL
Open lace_tube.psd - Copy - paste as new Layer
Arrange - send Layer on top of Layer 2
Image - Resize to 98 % all Layer not chequed
Effects - Image Effects - Turn Page
1. Color white / 2. Color at the right - color out of Image #002237

Repeat this to all 4 Corners
Drop Shadow 0/0/35/10,00 FG Color #274553 - maybe colorize
Copy "element_doodle_cg.psd - paste as new Layer
Arrange to the bottom - for you colorize
Paste your Text and Watermark as new Layer -
in first place
My Font

Step :5 Animation
Layer "animation" is activ - Adjust Plugin Xero Fuzzifier

Copy all Layer - AniShop - paste as new Animaton
back to psp - undo the last step
repeat the Filter with this Values

Copy all Layer - AniShop - paste after the selected Frame
PSP undo the last step
repeat the Filter with this Values
Copy all Layer - AniShop - paste after the selected Frame
edit - Select all
Save as GIF
I hope you enjoyed the tutorial
Sincerely Christa